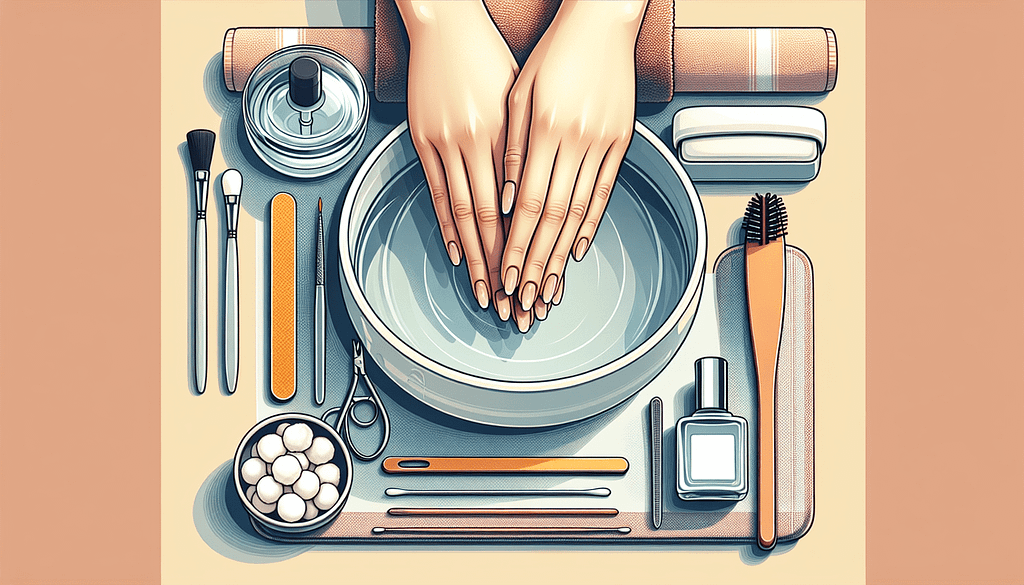
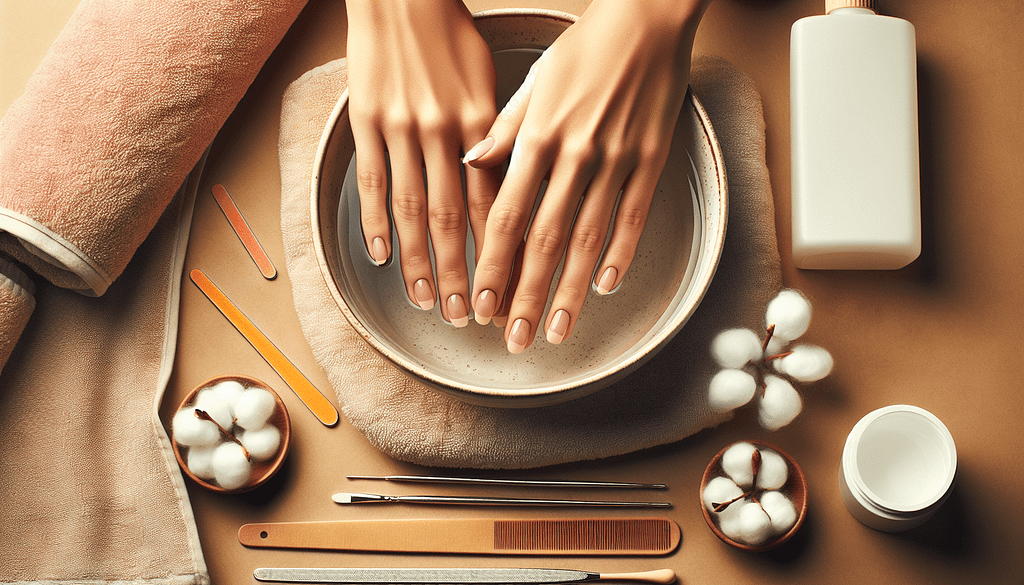
Welcome to the ultimate guide to nail care beauty tips, where we unravel the secrets to achieving picture-perfect nails that radiate health and beauty. Whether you’re a seasoned nail enthusiast or just starting on your journey to nail perfection, this comprehensive resource is your go-to destination for all things related to nail care. From cuticle care to Nail Strengthening Treatments, we’ve curated a treasure trove of expert advice and insider tips to help you nurture your nails to perfection. Dive into our extensive collection of questions covering topics such as manicure techniques, DIY nail care remedies, product recommendations, and so much more. Discover how to banish brittle nails, prevent pesky hangnails, and achieve salon-worthy results from the comfort of your own home. With insights on everything from proper nail filing techniques to the latest trends in nail art, this guide is your passport to unlocking the secrets of impeccable nail health and beauty. Join us on this exciting journey as we explore the world of nail care beauty tips and empower you to unleash your nails’ full potential. Let’s embark on this glamorous adventure together and elevate your nail game to dazzling new heights!
Removing gel or acrylic nails at home can be a delicate process, but with the right tools and techniques, you can achieve it safely and effectively without compromising the health of your natural nails. Begin by gathering essential supplies including acetone, cotton balls, aluminum foil, a nail file, and cuticle oil. Carefully file the top layer of the gel or acrylic to break the seal, then soak cotton balls in acetone and place them on your nails, securing them with small pieces of aluminum foil. Allow the acetone to work for about 15-20 minutes, then gently remove the foil and cotton. The gel or acrylic should be softened and can be gently pushed off using a cuticle stick. Finish by buffing your nails lightly and applying cuticle oil to replenish moisture, ensuring your nails remain healthy and strong. Have you ever found yourself wondering how to safely remove gel or acrylic nails at home? Whether you’re looking to avoid a trip to the salon, save some money, or simply prefer to take matters into your own hands, this guide is here to help.
Welcome to the ultimate guide to nail care beauty tips, where we unravel the secrets to achieving picture-perfect nails that radiate health and beauty. Whether you’re a seasoned nail enthusiast or just starting on your journey to nail perfection, this comprehensive resource is your go-to destination for all things related to nail care. From cuticle care to nail strengthening treatments, we’ve curated a treasure trove of expert advice and insider tips to help you nurture your nails to perfection. Dive into our extensive collection of questions covering topics such as manicure techniques, DIY nail care remedies, product recommendations, and so much more.
Discover how to banish brittle nails, prevent pesky hangnails, and achieve salon-worthy results from the comfort of your own home. With insights on everything from proper nail filing techniques to the latest trends in nail art, this guide is your passport to unlocking the secrets of impeccable nail health and beauty. Join us on this exciting journey as we explore the world of nail care beauty tips and empower you to unleash your nails’ full potential. Let’s embark on this glamorous adventure together and elevate your nail game to dazzling new heights!
Understanding Gel and Acrylic Nails
Before diving into the removal process, it’s essential to understand the difference between gel and acrylic nails, as their removal techniques slightly vary.
Gel Nails
Gel nails are a type of artificial nail that mimics the natural nail. These are created using a gel that is cured under a UV or LED light. Gel nails are flexible and offer a natural look but can be challenging to remove.
Acrylic Nails
Acrylic nails involve the use of a mixture of liquid monomer and powder polymer to create a hard, protective layer over your natural nails. Acrylic nails are durable and longer-lasting but need proper care during removal to avoid damage to your natural nails.
Preparation: Gather Your Supplies
The first step in safely removing either gel or acrylic nails at home is proper preparation.
Essential Tools and Supplies
You’ll need the following items to safely remove your nail enhancements:
- Acetone: Pure acetone is most effective.
- Nail Clippers: For trimming down the extensions.
- Nail File and Buffer: For removing the top layer.
- Cuticle Pusher: For aiding the removal process.
- Cotton Balls: Essential for soaking your nails in acetone.
- Aluminum Foil: To wrap your fingers and hold the acetone-soaked cotton in place.
- Cuticle Oil: To nourish your nails post-removal.
- Bowl: Optional, for soaking your nails.
- Towel and Plastic Wrap: Optional, for accelerated soaking.
Step-by-Step Guide: Removing Gel Nails
Step 1: Trim and File
Begin by trimming your gel nails using a nail clipper. This reduces the surface area, making the removal process more manageable. Next, use a coarse nail file to buff off the top shiny layer of the gel. This will allow the acetone to penetrate more effectively.
Step 2: Prep the Soak
Soak a cotton ball in acetone and place it on your nail. Wrap each finger in a small piece of aluminum foil to hold the cotton ball in place. Alternatively, you can place your nails in a bowl of acetone, but this method may dry out your skin more.
Step 3: Let It Sit
Allow your nails to soak in the acetone for about 15-20 minutes. If you used the foil method, you can cover your hands with a towel or plastic wrap to generate heat, which helps speed up the process.
Step 4: Gently Remove the Gel
Once the gel has softened, use a cuticle pusher to gently push off the gel from your nails. Be patient; if the gel doesn’t come off easily, soak them for a bit longer.
Step 5: Buff and Shape
After successfully removing the gel, gently buff your nails to remove any remaining residue. Shape them with a nail file and refine the edges.
Step 6: Hydrate and Nourish
Finally, apply a generous amount of cuticle oil to hydrate your nails and cuticles. This will help restore moisture and promote healthy regrowth.
Step-by-Step Guide: Removing Acrylic Nails
Step 1: Trim and File
Similar to gel nails, start by trimming down your acrylic extensions. Use a coarse nail file to remove the top layer of the acrylic. Filing the surface helps the acetone to break down the acrylic faster.
Step 2: Soak in Acetone
Soak a cotton ball in acetone and place it on each nail. Wrap your fingers in aluminum foil to secure the cotton ball. Alternatively, you can soak your nails directly in a bowl of acetone.
Step 3: Wait Patiently
Allow your nails to soak for 20-30 minutes. As with gel nails, covering your hands with a towel or plastic wrap can help accelerate the process by trapping heat.
Step 4: Remove and Scrape
Once the acrylic has softened, use a cuticle pusher to gently scrape off the acrylic from your nails. If the acrylic doesn’t come off easily, soak them again for an additional 10 minutes.
Step 5: Buff and Shape
Buff your nails to remove any remaining acrylic residue. Shape your nails with a file and refine the edges to your desired look.
Step 6: Hydrate
Finish the process by applying cuticle oil generously. This step is crucial for nourishing your nails and preventing dryness or damage.
Post-Removal Care
Proper care post-removal is essential to ensure your nails stay healthy and strong.
Strengthening Treatments
Your nails may feel weak or brittle after the removal process. Consider using strengthening treatments or nail hardeners to restore their health. Products containing ingredients like biotin, keratin, and vitamin E can be particularly beneficial.
Regular Moisturization
Hydrating your nails and cuticles should be a regular part of your nail care routine. Use hand creams and cuticle oils daily to maintain moisture levels.
Avoid Immediate Reapplication
Try to give your nails a break for a couple of weeks before applying new gel or acrylic nails. This period allows your natural nails to recuperate and regain strength.
Gentle Filing
Use a soft nail file for any smoothing or shaping during the recovery period. Avoid vigorous filing, which can cause further damage to weakened nails.
Proper Diet
Incorporate a balanced diet rich in vitamins and minerals to promote nail health from within. Foods like almonds, spinach, and eggs are excellent sources of nutrients for strong nails.
Common Mistakes to Avoid
To ensure the safest removal process, be aware of common mistakes that can damage your nails.
Skipping the Buffing Step
Neglecting to file off the top layer can make the removal process harder and more damaging. Always ensure you buff the top layer before soaking in acetone.
Rushing the Process
Attempting to force the gel or acrylic off before it’s ready can cause significant damage. Patience is key to a safe removal process.
Excessive Filing
Over-filing can thin your nails and make them more susceptible to breakage. Always file gently, especially after removal.
Ignoring Post-Removal Care
Your nails need extra TLC after the removal process. Skipping hydration and strengthening treatments can lead to prolonged damage and difficulty in nail regrowth.
Product Recommendations
Using the right products can make a significant difference in safely removing gel or acrylic nails at home.
Acetone
- Pure Acetone: Available at most drugstores.
- Salon-Quality Acetone: Strong and effective.
Buffers and Files
- Coarse Nail Files: Essential for filing down tough gel or acrylic layers.
- Buffing Blocks: Perfect for smoothing nails post-removal.
Cuticle Oil
- Jojoba Oil-Based Cuticle Oil: Known for excellent hydration properties.
- Vitamin E Enriched Oils: Great for nurturing brittle nails.
Nail Strengtheners
- Biotin-Infused Products: Promotes nail growth and strength.
- Keratin Treatment: Helps in the rapid recovery of nails.
DIY Remedies
Certain DIY remedies can also assist in the nail recovery process post-removal.
Olive Oil Soak
Soak your nails in warm olive oil for 10-15 minutes daily. This helps in deeply moisturizing and strengthening your nails.
Coconut Oil
Massaging your nails and cuticles with coconut oil can significantly improve nail health and promote growth.
Lemon Juice and Baking Soda
A mixture of lemon juice and baking soda can act as a natural nail whitener, removing yellow stains often left by acrylics or gels.
Conclusion
Safely removing gel or acrylic nails at home is entirely achievable with the right tools, techniques, and patience. It’s vital to follow the steps diligently and provide your nails with the necessary post-care to ensure they remain healthy and strong. With this comprehensive guide, you’re now equipped with all the knowledge you need to achieve salon-quality results from the comfort of your own home. Whether you’re a nail care novice or a seasoned pro, these tips will empower you to elevate your nail game to dazzling new heights. Remember, your journey to impeccable nail health and beauty begins with proper care and attention to detail. Enjoy the glamorous adventure and let your nails shine!


